
How we build a fireplace face that stays tight
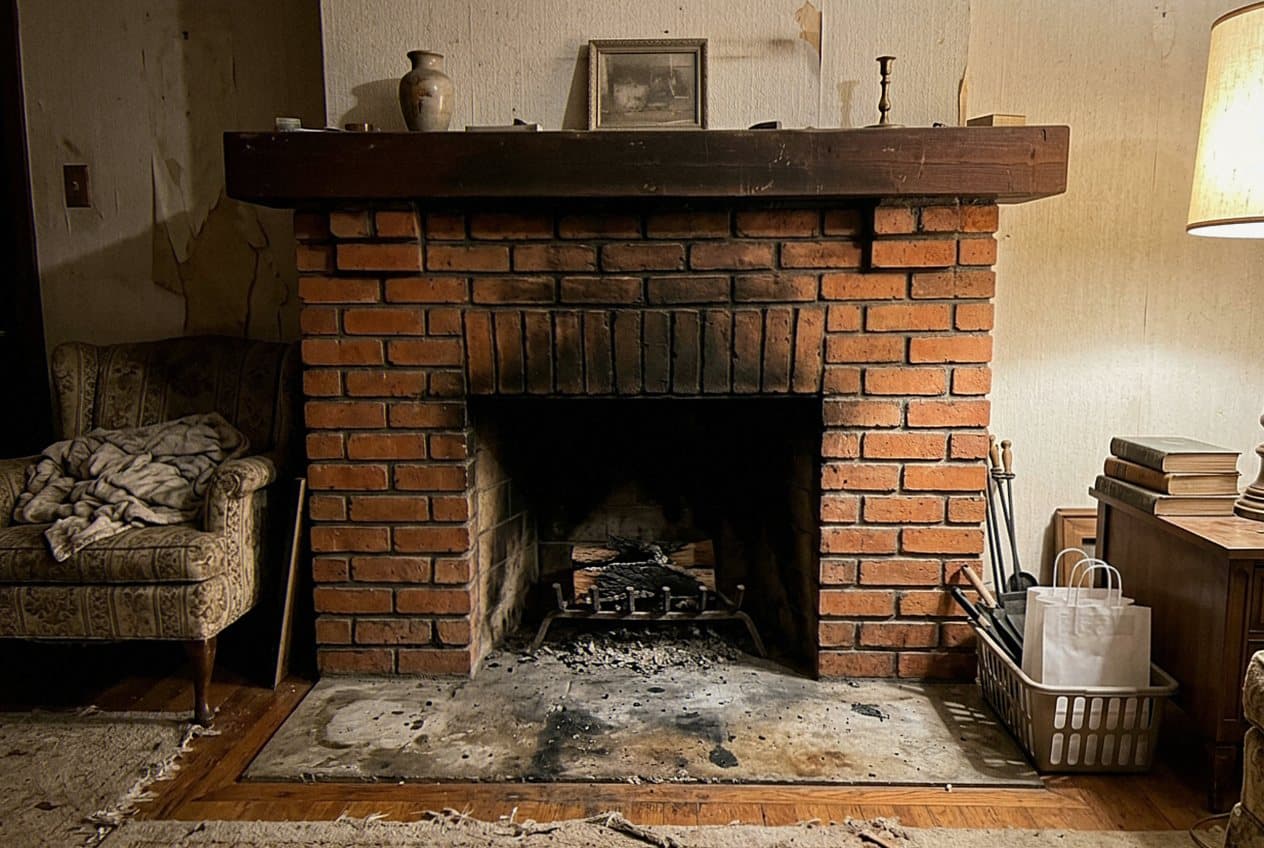
Most of the fireplaces we retile in Naperville were never really finished. A builder framed the box, dropped in a metal firebox, and wrapped the front with a few square feet of tile from whatever was on the shelf that month. That was the whole design. Twenty years on, the room has been painted twice and refloored once, and the fireplace still looks like the day the drywall crew drove away. Closer to downtown, on the older streets near the historic district, we meet the other version of the same story. A solid masonry firebox, a brick face somebody painted white in a hurry, and a hearth covered over with vinyl or carpet. Different house, same feeling. The wall everybody looks at is the one wall nobody wants to touch. There is a failure side to this work too, and it looks about the same all over DuPage County. Grout cracks along the line where the hearth meets the wall. A tile above the opening sounds hollow when you tap it with a knuckle. The corner of a stone panel lifts a hair and catches a fingernail every time you walk past. Owners tend to blame the tile itself. The tile is almost never the reason. A fireplace heats up and cools down every evening from November into March, and the materials around it move a little with each cycle. Mortar that was never made for heat lets go first. Adhesive meant for a kitchen backsplash goes brittle inside a season of that back and forth. Then the movement finds the weakest joint on the wall and opens it up. So we start every fireplace by opening the face, not by picking tile. We want to know what the old finish is sitting on, how the box is framed, and where the combustible wood actually begins. In a builder box that usually means metal studs, a sheet of drywall, and a smear of adhesive. In an older masonry home it means brick, a tired scratch coat, and sometimes a steel lintel carrying more than its share above the opening. We measure the opening. We check the hearth in front of a wood burning box against what the code asks for. We look at the mantel and how far it projects out over the heat. Those numbers decide what we are able to build for you. Only then do we talk about color, size, and pattern, because the design has to fit the clearances instead of the other way around.
Once the face is open, the build follows a plain order. Anything soft or scorched comes out of the wall. Paper faced drywall inside the heat zone gets cut back and replaced with cement board, because board made for wet and hot work will not soften and will not feed a fire. Then we shim and float until the wall is truly flat. A chimney wall in a two story great room that waves by a quarter of an inch will show every ripple once tile crosses it, and no grout line hides that. Flat first, tile second. On a floor to ceiling face that order is not up for debate. Next we build to the clearances the fireplace itself calls for. A gas insert ships with a spec sheet that states how close combustible material may sit beside the opening and how far a mantel may project above it. Those numbers come from the unit, not from us, and we follow them. NFPA 211 covers the same ground for masonry fireboxes and chimneys, and it is the reference the inspectors around here work from. When a mantel leg or a run of wood trim lands too close to the opening, we say so before the demolition starts rather than after the tile is up and the room is clean. It is a short conversation early and an expensive one late. Setting materials matter as much as the layout does. Around a firebox we use mortar rated to take the heat, never a bucket adhesive off a shelf, and we mix it stiff enough to hold a heavy stone panel without it slumping down the wall overnight. Movement joints go in wherever the plane changes. That means the inside corners, the seam where the hearth meets the face, and the line where tile runs into a ceiling or a return wall. Those joints get a flexible sealant instead of hard grout, so the wall has somewhere to move on a January evening with a hot fire running and a cold snap outside. The layout gets drawn on the wall before a single tile goes up. We center the pattern on the firebox opening rather than on the room, because your eye reads the opening as the middle of the wall whether the room agrees or not. Full pieces land at eye level and the cuts get pushed out to the edges and up near the ceiling where nobody studies them. On a herringbone face or a stacked stone panel we dry lay a section on the floor first and walk you through it. Ten minutes of chalk lines and a dry run saves a wall you would have quietly disliked for the next decade.
- We open the face before we quote the tile, so the framing, the old substrate, and the real clearances are known facts by the time you pick a color. Old fireplace walls in Naperville hide things. Finding them on day one keeps them cheap.
- Mortar rated for heat goes on around the firebox, not the bucket adhesive sold for backsplash work. That one choice is the difference between a face that stays tight season after season and a wall that sounds hollow by the second winter you use it.
- We build to the clearance numbers printed on your insert spec sheet, and to what NFPA 211 lays out for masonry fireboxes. Mantel depth, trim legs, and hearth size all get settled while the wall is still open and changes are easy.
- Movement joints go in at the inside corners, along the hearth seam, and where the tile meets the ceiling. Those joints take a flexible sealant instead of hard grout, so the heating and cooling cycle has somewhere to go besides your grout lines.
- One crew runs the whole job, from demolition through substrate, tile, grout, and cleanup. We cover the floor and the furniture on the way in, cut with a vacuum running, and haul the old face out in our truck instead of leaving it on your driveway.
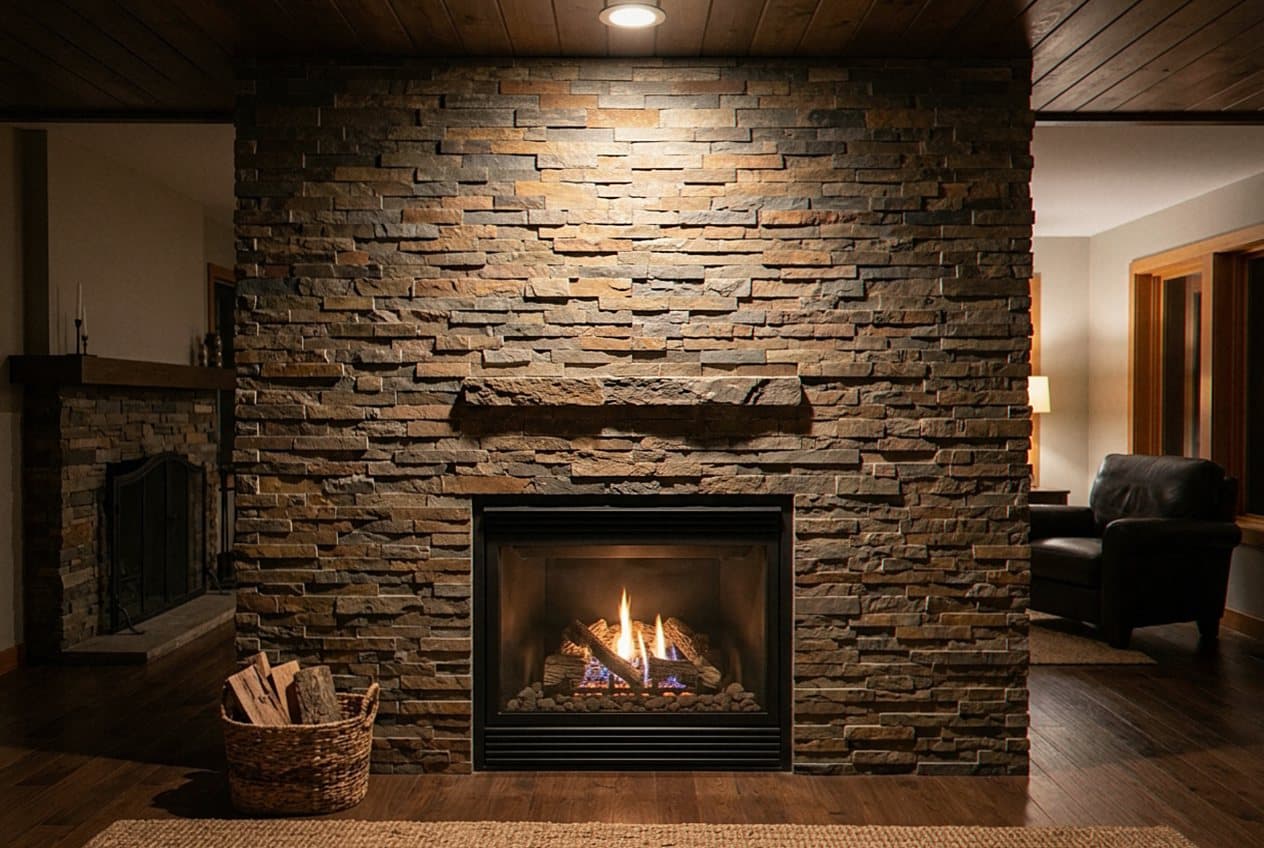
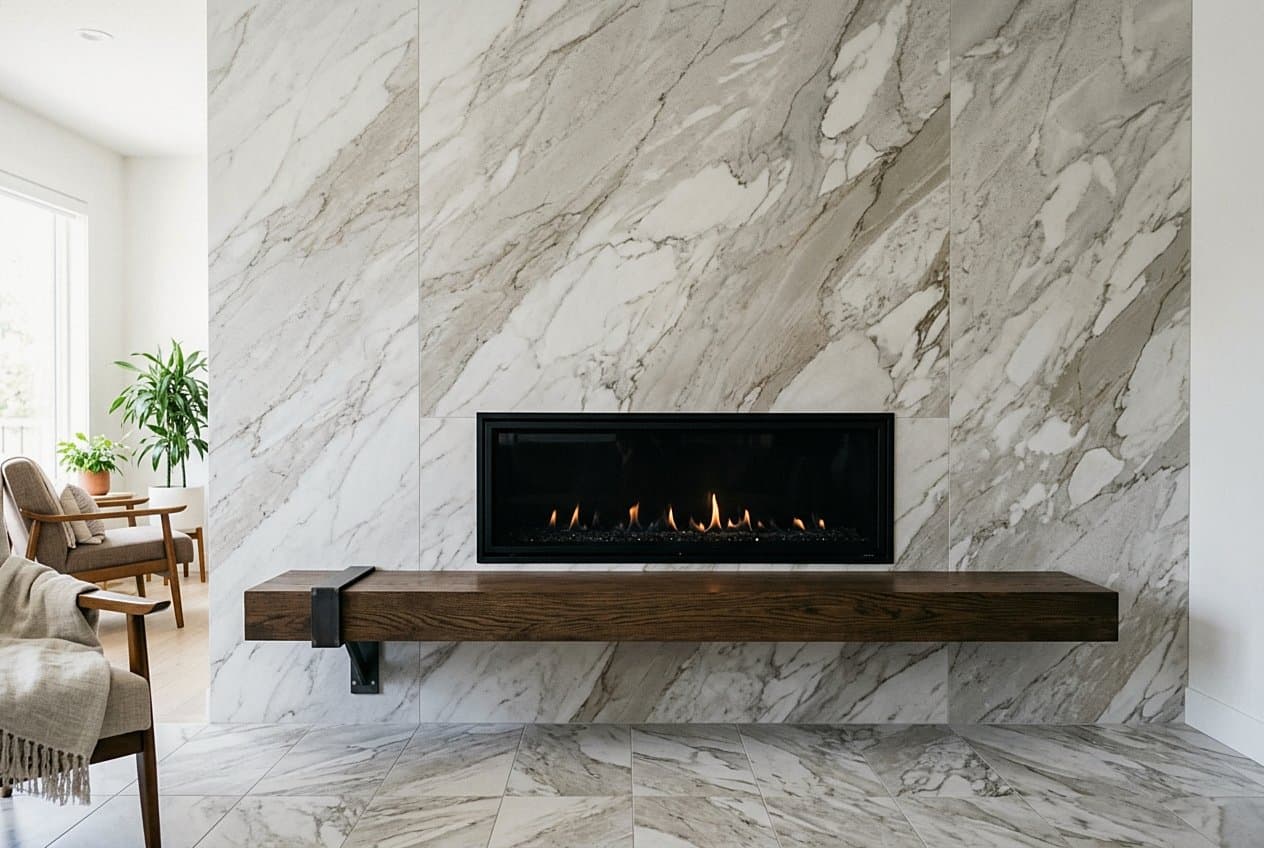
What a fireplace costs you in time depends on the wall, not on how many square feet you plan to cover. A simple surround and hearth on a builder box is often two or three days of work. We pull the old face on the first morning. We prep the wall and set tile the same day, then come back to grout once the mortar behind it has cured, because rushing that step is how a joint cracks in the first cold month. A floor to ceiling wall in a two story room is another animal. Staging alone eats part of a day, large panels need two sets of hands on every piece, and heavy stone wants time to grab before anything hangs off it. The tile you choose moves the schedule as well. Large format porcelain gives a calm modern face with very few joints, and it asks for a wall that is flat within a tight range. Stacked stone forgives a wall that is a little out of true, and it also takes us longer to hang, because every single piece has to be fitted against the one below it by hand. Glazed tile with a handmade look brings real warmth into a family room. No two pieces are quite the same size, so that layout takes a slow hand. Natural stone reads the richest of the group and weighs the most, which means we talk about blocking and support early. We bring samples to the house and set them against your floor and your paint in daylight. Then we look again at night with the lamps on. A tile that felt warm under store lighting can turn flat and gray in a north facing room, and you only find that out once the wall is up. The season matters too. Most people here want the work done before the weather turns and the fireplace goes back into nightly use, which is why autumn fills up faster for us than any other stretch of the year. If the room runs on a gas insert, we set the shutoff and the reconnect with your fitter so nobody stands around guessing. If the box itself is worn out, we say so plainly. The box comes first and the tile comes second. There is no sense wrapping a lovely new face around a unit you plan to swap out in two winters. You get the plan in writing before we start, along with the days we expect to be in your house. If opening the wall changes any of it, you hear from us that same afternoon.
If the fireplace is the last unfinished thing in your front room, send us a photo of it. Tell us what you want that wall to feel like. We will come out, open a small area if the old face hides too much, and measure the opening, the hearth, and the mantel. You get a plain scope with the layout drawn on it. There is no pressure to decide while we are standing there. We work across Naperville every week, and out to Lisle, Wheaton, Warrenville, Aurora, Plainfield, and Bolingbrook. Call us and tell us what you are looking at. We will tell you straight what the wall needs and what it does not.